Looking for help?
Find answers to your questions
Table of Contents
- Understanding the Problem
- Safety First!
- Tools You Might Need:
-
Step-by-Step Diagnosis Guide: E-Bike Won't Turn On
- Step 1: The Most Basic Checks (Battery and Power Button)
- Step 1.5: Check for Battery Hibernation/Sleep Mode
- Step 2: Inspecting All Electrical Connections
- Step 3: Check for Cable Damage
- Step 4: Advanced Battery & Controller Checks (Requires Multimeter)
- Step 5: Testing Components (If Possible)
- Step 6: Environmental Factors and Water Damage
- When to Seek Professional Help:
My Bike Won’t Turn On Trouble Shooting Guide
Table of Contents
- Understanding the Problem
- Safety First!
- Tools You Might Need:
-
Step-by-Step Diagnosis Guide: E-Bike Won't Turn On
- Step 1: The Most Basic Checks (Battery and Power Button)
- Step 1.5: Check for Battery Hibernation/Sleep Mode
- Step 2: Inspecting All Electrical Connections
- Step 3: Check for Cable Damage
- Step 4: Advanced Battery & Controller Checks (Requires Multimeter)
- Step 5: Testing Components (If Possible)
- Step 6: Environmental Factors and Water Damage
- When to Seek Professional Help:
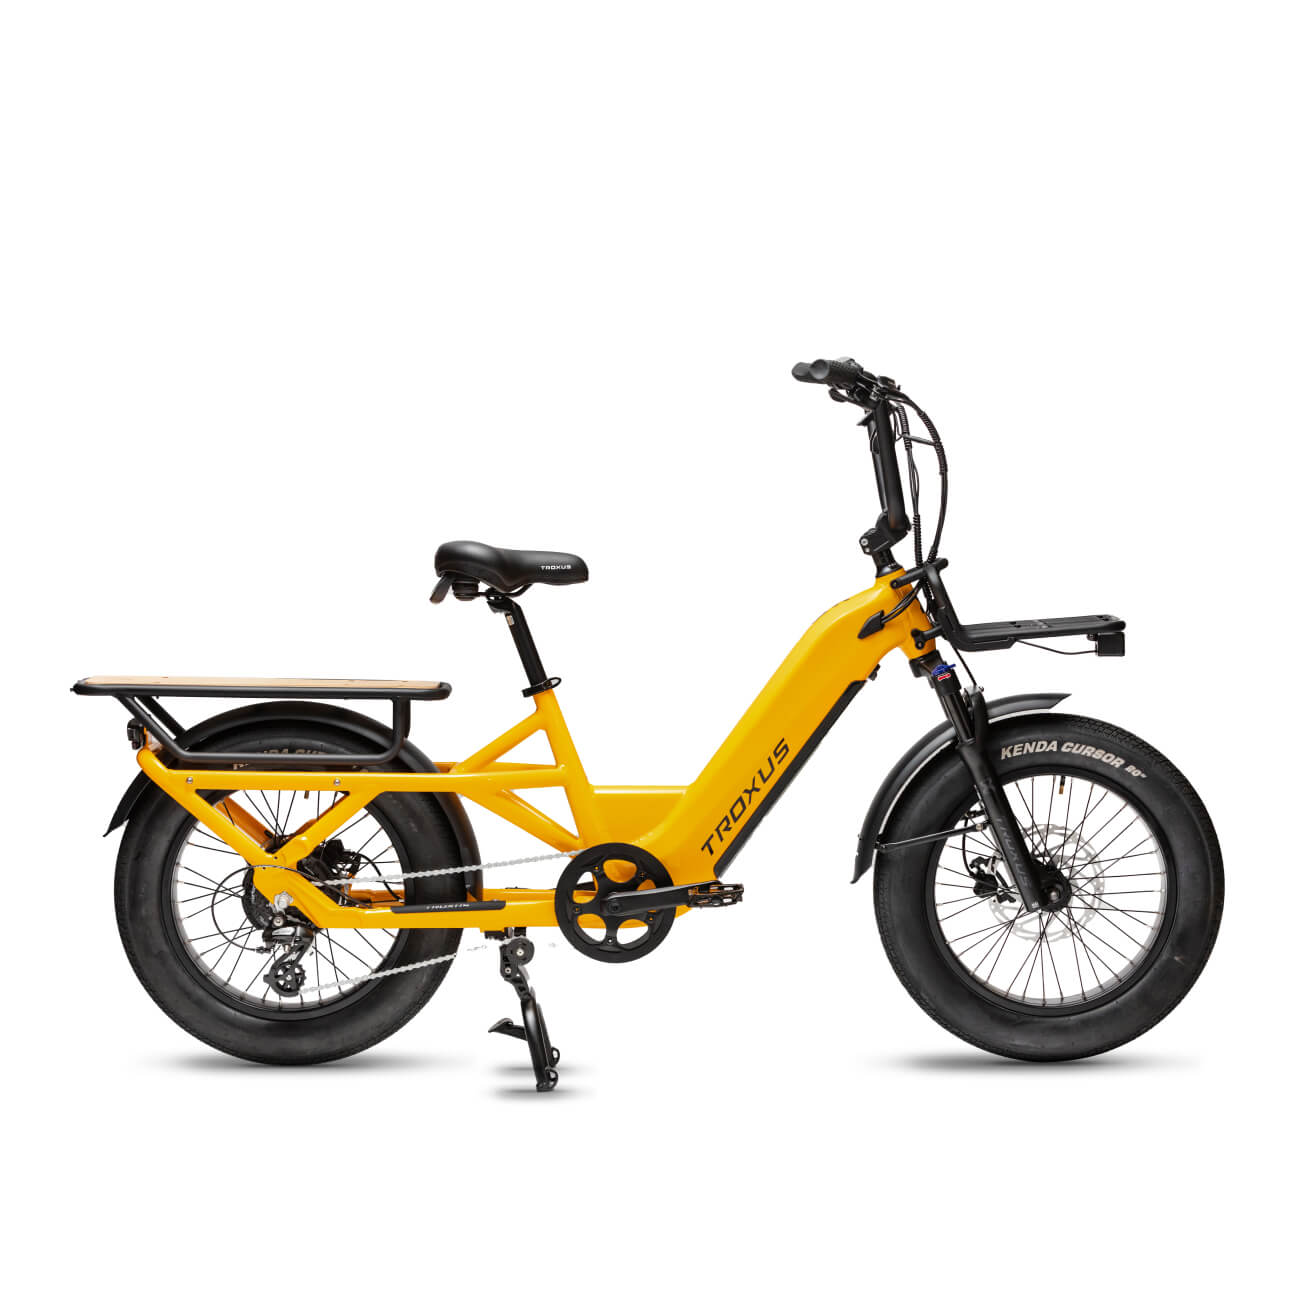
You've got a Troxus e-bike, but it won't power on – a frustrating experience, to say the least! This guide will walk you through a systematic troubleshooting process to pinpoint why your e-bike isn't coming to life.
Understanding the Problem
When an e-bike won't turn on, it generally means there's a break in the electrical circuit or a failure in a critical component that initiates the power sequence (like the battery, display, or controller).
Safety First!
- Always ensure the e-bike is turned off and the battery is removed before inspecting connections or components.This prevents accidental shocks or damage.
- Work in a well-lit and dry area.
- If you're unsure about any step, or if you suspect internal damage to sealed components, contact a professional e-bike technician.
Tools You Might Need:
- Multimeter (highly recommended for checking battery voltage)
- Small screwdriver set (Phillips and possibly flathead)
- Allen key set (hex wrenches)
- Clean cloth
- Possibly a can of compressed air
Step-by-Step Diagnosis Guide: E-Bike Won't Turn On
Step 1: The Most Basic Checks (Battery and Power Button)
This is where most problems are solved. Don't skip these!
- Is the Battery Charged?
- Check Battery Indicator:Most e-bike batteries have a built-in charge indicator (LEDs or a small screen). Press the button on the battery itself to see its charge level.
- Charge the Battery:If the indicator shows low or no charge, or if there's no indicator at all, plug the battery into its charger.
- Observe Charger Light:Does the charger light (usually red for charging, green for full) behave as expected? If the charger light immediately turns green, or doesn't light up at all, the battery might not be accepting a charge, or the charger itself is faulty.
- Allow Adequate Charging Time:Let it charge for several hours, or until the charger indicates a full charge.
- Result:If the battery charges and the bike turns on, great! If not, proceed.
- Is the Battery Properly Seated?
- Remove the battery from the e-bike.
- Inspect the battery contacts on both the battery and the bike's battery mount for any dirt, debris, corrosion, or bent pins. Gently clean with a dry cloth or use compressed air.
- Reinsert the battery firmly until it clicks securely into place. Ensure it doesn't wobble.
- Result:If proper seating fixes it, you're good. If not, proceed.
- Are the Power Buttons Working?
- Main Power Button:E-bikes typically have a main power button on the display or battery itself. Ensure you're pressing it correctly and holding it down for the required duration (often 2-3 seconds).
- Battery Power Button (if separate):Some bikes require the battery's power button to be turned on first, then the display's. Ensure both are activated.
- Result:If a button issue fixes it, good. If not, proceed.
Step 1.5: Check for Battery Hibernation/Sleep Mode
Some e-bike batteries have a hibernation or sleep mode to conserve power during long periods of inactivity.
- Check the Battery Manual:Your e-bike's manual should describe how to wake the battery from hibernation or sleep mode.
- Wake-up Procedure:This often involves:
- Pressing and holding the power button on the battery for an extended period(e.g., 5-10 seconds).
- Connecting the battery to the charger for a short time(even if it's already fully charged).
- Test:After attempting the wake-up procedure, try turning on the e-bike.
- Result:If the bike turns on, the battery was likely in hibernation mode. If it still doesn't turn on, proceed to the next step.
Step 2: Inspecting All Electrical Connections
A loose or corroded connection is a very common cause of no power.
- Turn Off & Remove Battery (Again):Crucial safety step.
- Systematic Inspection of Connectors:Go through every visible electrical connector on your Troxus. These are often “Linkwe” or "Julet" style, sometimes color-coded, with arrows or alignment marks.
- Display to Controller:Follow the cable from your handlebar display down to the main wiring harness or controller. Disconnect, inspect pins (bent, corroded, dirty), clean, and firmly re-connect.
- Motor Cable:This is a thicker cable running from the motor (hub or mid-drive) to the controller. Disconnect, inspect, and re-connect.
- PAS (Pedal Assist Sensor) Cable:Located near the cranks. Disconnect, inspect, and re-connect.
- Brake Cut-off Cables:If your brake levers have integrated sensors, check these connections.
- Throttle Cable:If your bike has a throttle, check its connection.
- Any Other Accessory Cables:Lights, speed sensors, etc., check their connections.
- Method for Inspection:
- Gently pull the connectors apart.
- Examine the pins inside for bent pins, corrosion (green/white powdery residue), or dirt.
- Carefully use a non-conductive tool (like a plastic toothpick) or compressed air to clean any debris.
- If a pin is slightly bent, very gentlytry to straighten it with small needle-nose pliers or tweezers, but be extremely careful as they can snap off.
- Re-connect firmly, ensuring the arrows align and the connector is fully seated (often with a "click").
- Result:If a re-seated connection fixes the issue, great. If not, proceed.
Step 3: Check for Cable Damage
Even if connectors are secure, the wires themselves can be damaged.
- Turn Off & Remove Battery.
- Visual Inspection of Cables:Carefully follow all visible cables on your e-bike.
- Look for:
- Pinched or crimped cables:Often where cables pass through frame openings or under zip ties.
- Frayed or cut insulation:Any exposed copper wires.
- Abrasion marks:Where cables have rubbed against the frame or other components.
- Melted plastic:A sign of overheating or a short circuit.
- Animal Chewing:Rodents love to chew on wires.
- Pay special attention to areas with movement (handlebars, suspension pivots) or high exposure (under the downtube).
- Look for:
- Result:If you find damaged wiring, it's likely the cause. Repairing damaged e-bike wiring is complex and often requires professional help or replacement of the entire harness/component. If no visible damage, proceed.
Step 4: Advanced Battery & Controller Checks (Requires Multimeter)
If you have a multimeter, you can check voltage.
- Check Battery Voltage (with Multimeter):
- Consult your battery's manual for expected voltage range.A 48V battery, for example, might read 54.6V when full and cut off around 40V when empty.
- Set Multimeter to DC Volts.
- Carefully touch the multimeter probes to the positive and negative terminals of the battery.Ensure good contact.
- Result:
- No Voltage Reading (or extremely low):The battery is dead or internally faulty and not providing power.
- Voltage Reading is within expected range:The battery is likely okay and providing power. This points to a problem further down the line (controller, display).
- Voltage is unexpectedly low (e.g., 20V for a 48V battery):The battery is deeply discharged or faulty. Try another charge cycle, or it may be at the end of its life.
- Check Power at Controller Input (If Accessible):
- This step is more advanced and requires caution.Only attempt if you are comfortable.
- With the battery connectedand the multimeter set to DC Volts, try to carefully measure the voltage at the main power input terminals of the controller (where the battery power cable connects). This confirms if power is reaching the controller.
- Result:
- No voltage at controller input:The issue is between the battery and the controller (battery mount, main power cables).
- Voltage present at controller input:The controller is receiving power, meaning the issue lies within the controller itself, the display, or components downstream.
Step 5: Testing Components (If Possible)
If you have access to a known-good spare battery, display, or controller for your specific e-bike model, you can try swapping them out one by one to isolate the faulty component.
- Try a different battery:If available, swap it out. If the bike powers on, your original battery is the issue.
- Try a different display:If you can safely and easily swap the display, a faulty display can prevent the bike from turning on.
- Try a different controller:This is usually more involved, but if a spare is available, it can rule out a faulty controller.
Step 6: Environmental Factors and Water Damage
- Recent Exposure:Has your e-bike been ridden in heavy rain, washed with a hose, or stored in a very damp environment?
- Drying Out:If you suspect water ingress into the controller or display, do NOT try to turn it on.
- Remove the battery.
- If possible and safe, disconnect major connectors.
- Place the bike/affected components in a warm, dry, well-ventilated area for at least 24-48 hours to thoroughly dry out. A fan can help.
- Result:If drying resolves the issue, it was water-related. If corrosion is visible, the affected component may need replacement.
When to Seek Professional Help:
If you've systematically gone through all these steps and your e-bike still won't turn on, the problem is likely an internal failure of a major component that requires specialized diagnostic tools and expertise. This includes:
- A faulty battery(even if it shows voltage, it might not deliver sufficient current).
- A faulty controller.
- A faulty display.
- An issue with the motor's internal wiring or sensors.
- A complex internal wiring harness
In these situations, it's best to:
- Contact the e-bike manufacturer or the dealer where you purchased the bike.Provide them with your e-bike model and a detailed list of all the troubleshooting steps you've already taken.
- Take your e-bike to a qualified e-bike service center.They have the diagnostic equipment and experience to pinpoint and repair the exact problem.
By methodically following this guide, you significantly increase your chances of diagnosing why your e-bike won't turn on, potentially saving you a trip to the repair shop.
Updated on 03 Jun 2025
What are your Feelings?
Thanks for your feedback.
Test Ride
Find your perfect bike locally. Check online inventory for the fastest availability.
Shop LocallyLocal Pick Up
Shop online, ride today! Order your e-bike online and enjoy the convenience of picking it up the same day at the nearest store to you.
Shop E-BikesExclusive Warranty Benefits
All 2024 and newer e-bikes are backed by an exclusive 5-year limited warranty, while 2023 and older models are covered by our reliable 2-year standard warranty.
Learn MoreTotal Care+ Program
If your bike is damaged or involved in an accident, we’re here to help you work with your retailer to get back on the road, trail, or bike path quickly.
Learn more
Be the first to know
Subscribe now to unlock exclusive offers, latest product updates and more surprises.


